Let’s face it, for most users, if a computer boots up and they can start using it, then the computer is working fine—well, at least good enough. However, this apathetic view of computer health and maintenance can lead to serious problems down the road, especially if your computer is using an outdated device driver.
I recently repurposed an old gaming laptop as my new business PC. This process included updating the OS from Windows 7 to Windows 10. After the update, I noticed that the CPU fan was constantly running, and the PC performance was sluggish at best. So, I did some troubleshooting with the Windows Task Manager.
I discovered that, for unexplained reasons and even after a lengthy update process, the computer was still using an outdated and deprecated device driver. This was causing major performance issues and was obviously unacceptable.
This tutorial shows you how to use the Task Manager to identify bad acting devices, how to troubleshoot the problem, and then how to fix it.
SEE: Windows 10 May 2019 Update: 10 notable new features (free PDF) (TechRepublic)
How to troubleshoot and fix a faulty device driver
The Windows Task Manager, best reached by the infamous keyboard shortcut of CTRL-ALT-Delete, is one of the first troubleshooting tools you should turn to when your PC starts behaving badly. By thoroughly examining what processes are running and how much power they are using, you can get a general idea of what devices or services are causing problems and which are working properly.

As you can see in Figure A, the driver for Intel’s Rapid Storage Technology chipset is continuously tasking the CPU at close to 20%, even when the PC is sitting idle. This device driver is also continuously claiming almost 7MB of RAM for some reason–this should not be happening; however, it does explain the constant running of the CPU fan and the PC’s overall sluggishness.
After checking the Intel support website, it turns out there is an updated 64-bit driver for the Intel Rapid Storage Technology chipset available, which I downloaded. Before we can install the new driver, we must first uninstall the old driver.
Type “control panel” into the Windows 10 desktop search box and choose the appropriate Control Panel application from the list of results to reach a screen similar to Figure B, which shows the small icon view. Click the link labeled Programs And Features.
Scroll down the list of devices until you find Intel Rapid Storage Technology (Figure C)–click that entry and then uninstall it. You will have to restart your PC to finish the process.
Upon restart, a generic driver will take care of running the Intel chipset for you. This generic driver will work, but you will sacrifice a noticeable level of performance, so it is best to install the new Intel Rapid Storage Technology driver.
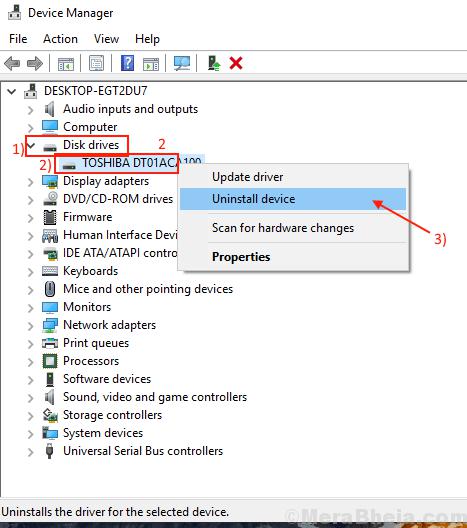
Right-click the Start Menu button and select the Device Manager item from the list of configuration services. Scroll down to Storage controllers, expand the entry, and select the appropriate device (Figure D).
Double-click the Intel Chipset SATA RAID Controller entry to reveal the Properties screen and then click the Driver tab (Figure E). Click the Update Driver button and select the Have Disk option to install the driver downloaded previously.
When the installation process is complete, you will be prompted to restart your PC once again.
Now, when you check the Task Manager (Figure F) after the restart, you will notice that the Intel Rapid Storage Technology process is quiet when your PC is idle, using 0% of the CPU and only .8MB of RAM–in other words, behaving like it is supposed to behave. Problem troubleshooted and solved.
If your Windows 10 computer is not performing as well as you would like, check the running processes using the Task Manager. That basic built-in app can provide the information you need to troubleshoot the problem and develop a solution.
Microsoft Weekly Newsletter
Be your company's Microsoft insider by reading these Windows and Office tips, tricks, and cheat sheets.
Delivered Mondays and Wednesdays


